Getting Started
Contributing is as easy as submitting a PR to the GitHub repository! If you’re already a GitHub pro, you can get started just with the repo in the way you would with any open source project. If you’re not sure how to get started:
- Sign up for the challenge
- Find an open issue you’re interested in working on
- Get your local environment running with the developer documentation
- Submit your pull request to the GitHub repo
If you need any help, jump into the forums and ask away!
Community Guidelines
This project is about building a community that is working together towards a shared goal. We’ve got a code of conduct that we expect participants to respect, but it really boils down to:
- Keep the goal in mind. We’re focused on the audacious goal of providing advanced algorithms for clinicians. Points and prizes are great, but they’re just a tool for keeping the project fun and interesting.
- Leave your ego at the door. We’re all aiming to achieve something bigger by working together.
- Practice empathy. Not everyone has the same skills or background, assume participants have the best intentions.
- Encourage other participants. The more people who can contribute the better for everyone. Help each other and recognize good work when you see it.
- Respect the process. This project involves tricky technical tradeoffs. Sometimes the administrators may make a decision that you don’t agree with. Contributors should assume good faith in all discussions and be willing to move on once the project moves past a certain decision.
And here are some concrete things that you can do:
- Answer questions on the forum
- Keep the developer documentation up to date as you change code
- See a good PR, add a +:heart: emoji! Challenge administrators will take notice.
- Let others know when you’re working on an issue—invite them to join your fork and solve it together!
Making the Project Better
As with any open source project, the specification of how we reach our goals, the features that we implement, and how the software works will continue to evolve. We welcome your input in refining this vision.
We didn’t think of everything beforehand, so contribute your ideas to the cause. We won’t be able to implement every one, but filing good issues that become marked official after review will earn you points like a code contribution.
- Search the issues to make sure it doesn’t already exist
- Use the issue template to ensure all the relevant details are included
- Wait for review and acceptance by the project maintainers
Filing an issue
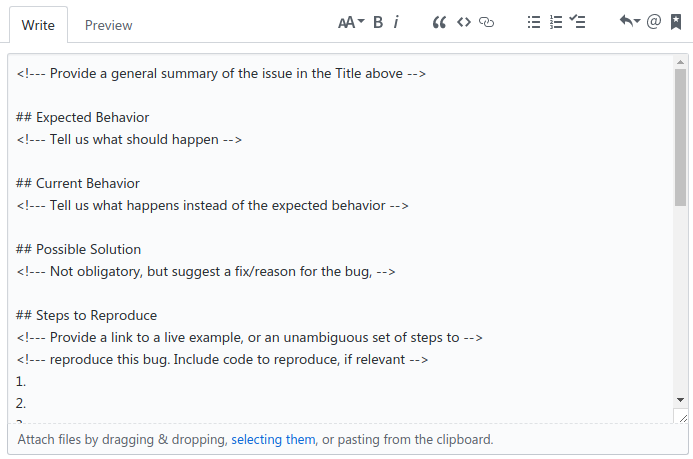
Creating issues is encouraged! When you create a new issue, you’ll see a pre-populated template — please fill this out as carefully and thoroughly as possible. Vague or insufficient issues will be closed quickly to help keep the project on track.
Upon review, project admins may tweak the issue or ask for more clarification, or may attach the official label to demonstrate both agreement and that supplying a PR that closes the issue will result in an award of points.
Cloning the repository and Git LFS
The problem with large files in Git (such as test images for this project) is that the entire history of these files is transferred to the client. This means that every time a big file is edited, its whole history needs to be downloaded by the contributors. Git Large File Storage (LFS) circumvents that problem by creating pointer files and lazily downloading only the needed version of big files while checkout rather than downloading the whole history of it while cloning or fetching (Githubs explanation can be found here).
If you don’t want to use Git LFS, you can clone the repository in a normal way and contribute to it, but you won’t be able to use e.g. test images shared by other contributors tracked by Git LFS.
Installing LFS
If you want to use Git LFS, please install Git LFS from the official website. To initialize LFS, you might need to run
$ git lfs install
Cloning Using LFS
Change to the project directory and run
$ git lfs pull
This should indicate that files are being downloaded.
Track files using LFS
To manage files using LFS, run
$ git lfs track myfile.psd
or to manage all files of a certain type, run
$ git lfs track "*.psd"
You can also adapt .gitattributes manually. Next, track said file
$ git add .gitattributes
Now you just have to commit and push the file(s) as you normally would
$ git add myfile.psd
$ git commit -m "Add big file"
$ git push origin master
Removing big files from Git history
If you already tracked big files using Git but moved them to LFS, you might want to remove them from the Git history. The preferred approach would be to use the BFG Repo-Cleaner since it is simpler and faster than Git’s built-in command filter-branch. Please refer to this great and detailed Github article about removing data from the repository history.
Opening a Pull Request
It’s beyond the scope of this document to explain pull requests in detail, but Github has some great resources to help people new to git and Github.
Once you’re familiar with the concept, the steps are pretty simple:
- Fork the
concept-to-clinic/concept-to-clinicproject - Clone your own fork to your local development computer
- Check out a branch in your local repo, named something descriptive like
issue-8-sphinx-autodoc - Make your changes
- If necessary, rebase the changes onto the project’s
masterbranch - Open the PR, and fill out the prepopulated PR template to the best of your ability